qemu入门
QEMU
QEMU是一款开源的模拟处理器,由Fabrice Bellard打造,接触他的原因是想用Loongarch,但是市面上龙芯的版U可以说想到少,又不向个人买家出售,咱想支持国产也没办法。
但是别急,Qemu在7.0rc0支持了loongarch,就是说我们可以轻松在x86上模拟loongarch了
下载源代码并编译
|
|
编译QEMU
编译中会出现一些问题
configure
缺少ninja:apt install ninja-build
中间可能会遇到各种报错,此处引用大佬的博客(提及的问题我大部分都遇到了):
- 问题1:
- 出现:
ERROR: Python not found. Use --python=/path/to/python- 解决:添加
--python=python3,还是不行提示Note that Python 3 or later is not yet supported。安装python2.7,然后使用--python=python2.7选项。- 问题2:
- 出现:
ERROR: pkg-config binary 'pkg-config' not found- 解决:执行
apt-get install -y pkg-config- 问题3:
- 出现:
ERROR: zlib check failed. Make sure to have the zlib libs and headers installed.- 解决:执行
sudo apt-get install zlib1g-dev- 问题4:
- 出现:
ERROR: glib-2.12 gthread-2.0 is required to compile QEMU- 解决:
sudo apt-get install libglib2.0-dev- 问题5:
- 出现:
ERROR: pixman >= 0.21.8 not present.- 解决:
sudo apt-get install libpixman-1-dev- 问题6:
- 出现:
vl.c: In function ‘main’: vl.c:2778:5: error: ‘g_mem_set_vtable’ is deprecated [-Werror=deprecated-declarations] g_mem_set_vtable(&mem_trace); ^ In file included from /usr/include/glib-2.0/glib/glist.h:32:0, from /usr/include/glib-2.0/glib/ghash.h:33, from /usr/include/glib-2.0/glib.h:50, from vl.c:59: /usr/include/glib-2.0/glib/gmem.h:357:7: note: declared here void g_mem_set_vtable (GMemVTable *vtable); ^ cc1: all warnings being treated as errors rules.mak:57: recipe for target 'vl.o' fai·led make: *** [vl.o] Error 1- 解决:QEMU源码根目录下的Makefile文件最后加上一行 QEMU_CFLAGS+=-w优化
如果遇到undefined reference to 'major',在报错的源文件中添加#include <sys/sysmacros.h>
模拟loongarch
下面是大佬的启动脚本,但是它没有给出源文件
|
|
于是我又混迹龙芯bbs,找到一个构建的archlinux启动镜像。 https://mirrors.wsyu.edu.cn/loongarch/2022.03/iso/2022.06/loongarchlinux-2022.06.22.1-loongarch64.iso
|
|
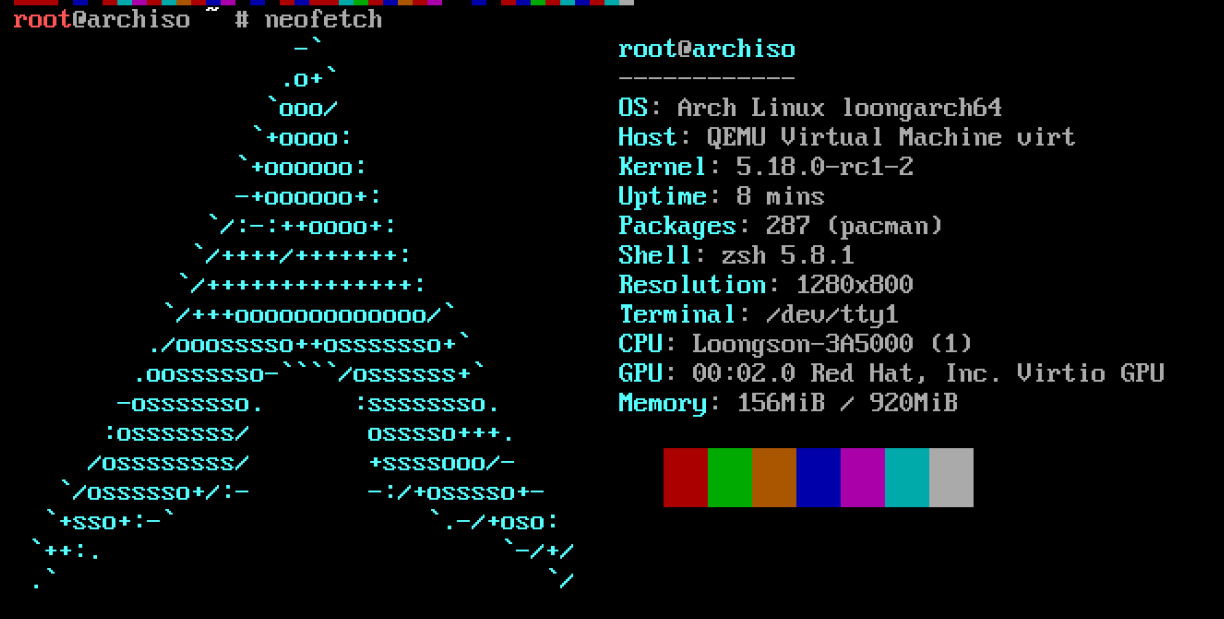
接下来就是见证奇迹的时刻
qemu使用指南
info register 查看寄存器
ctrl+a c从跳出模拟机的tty到qemu控制台